
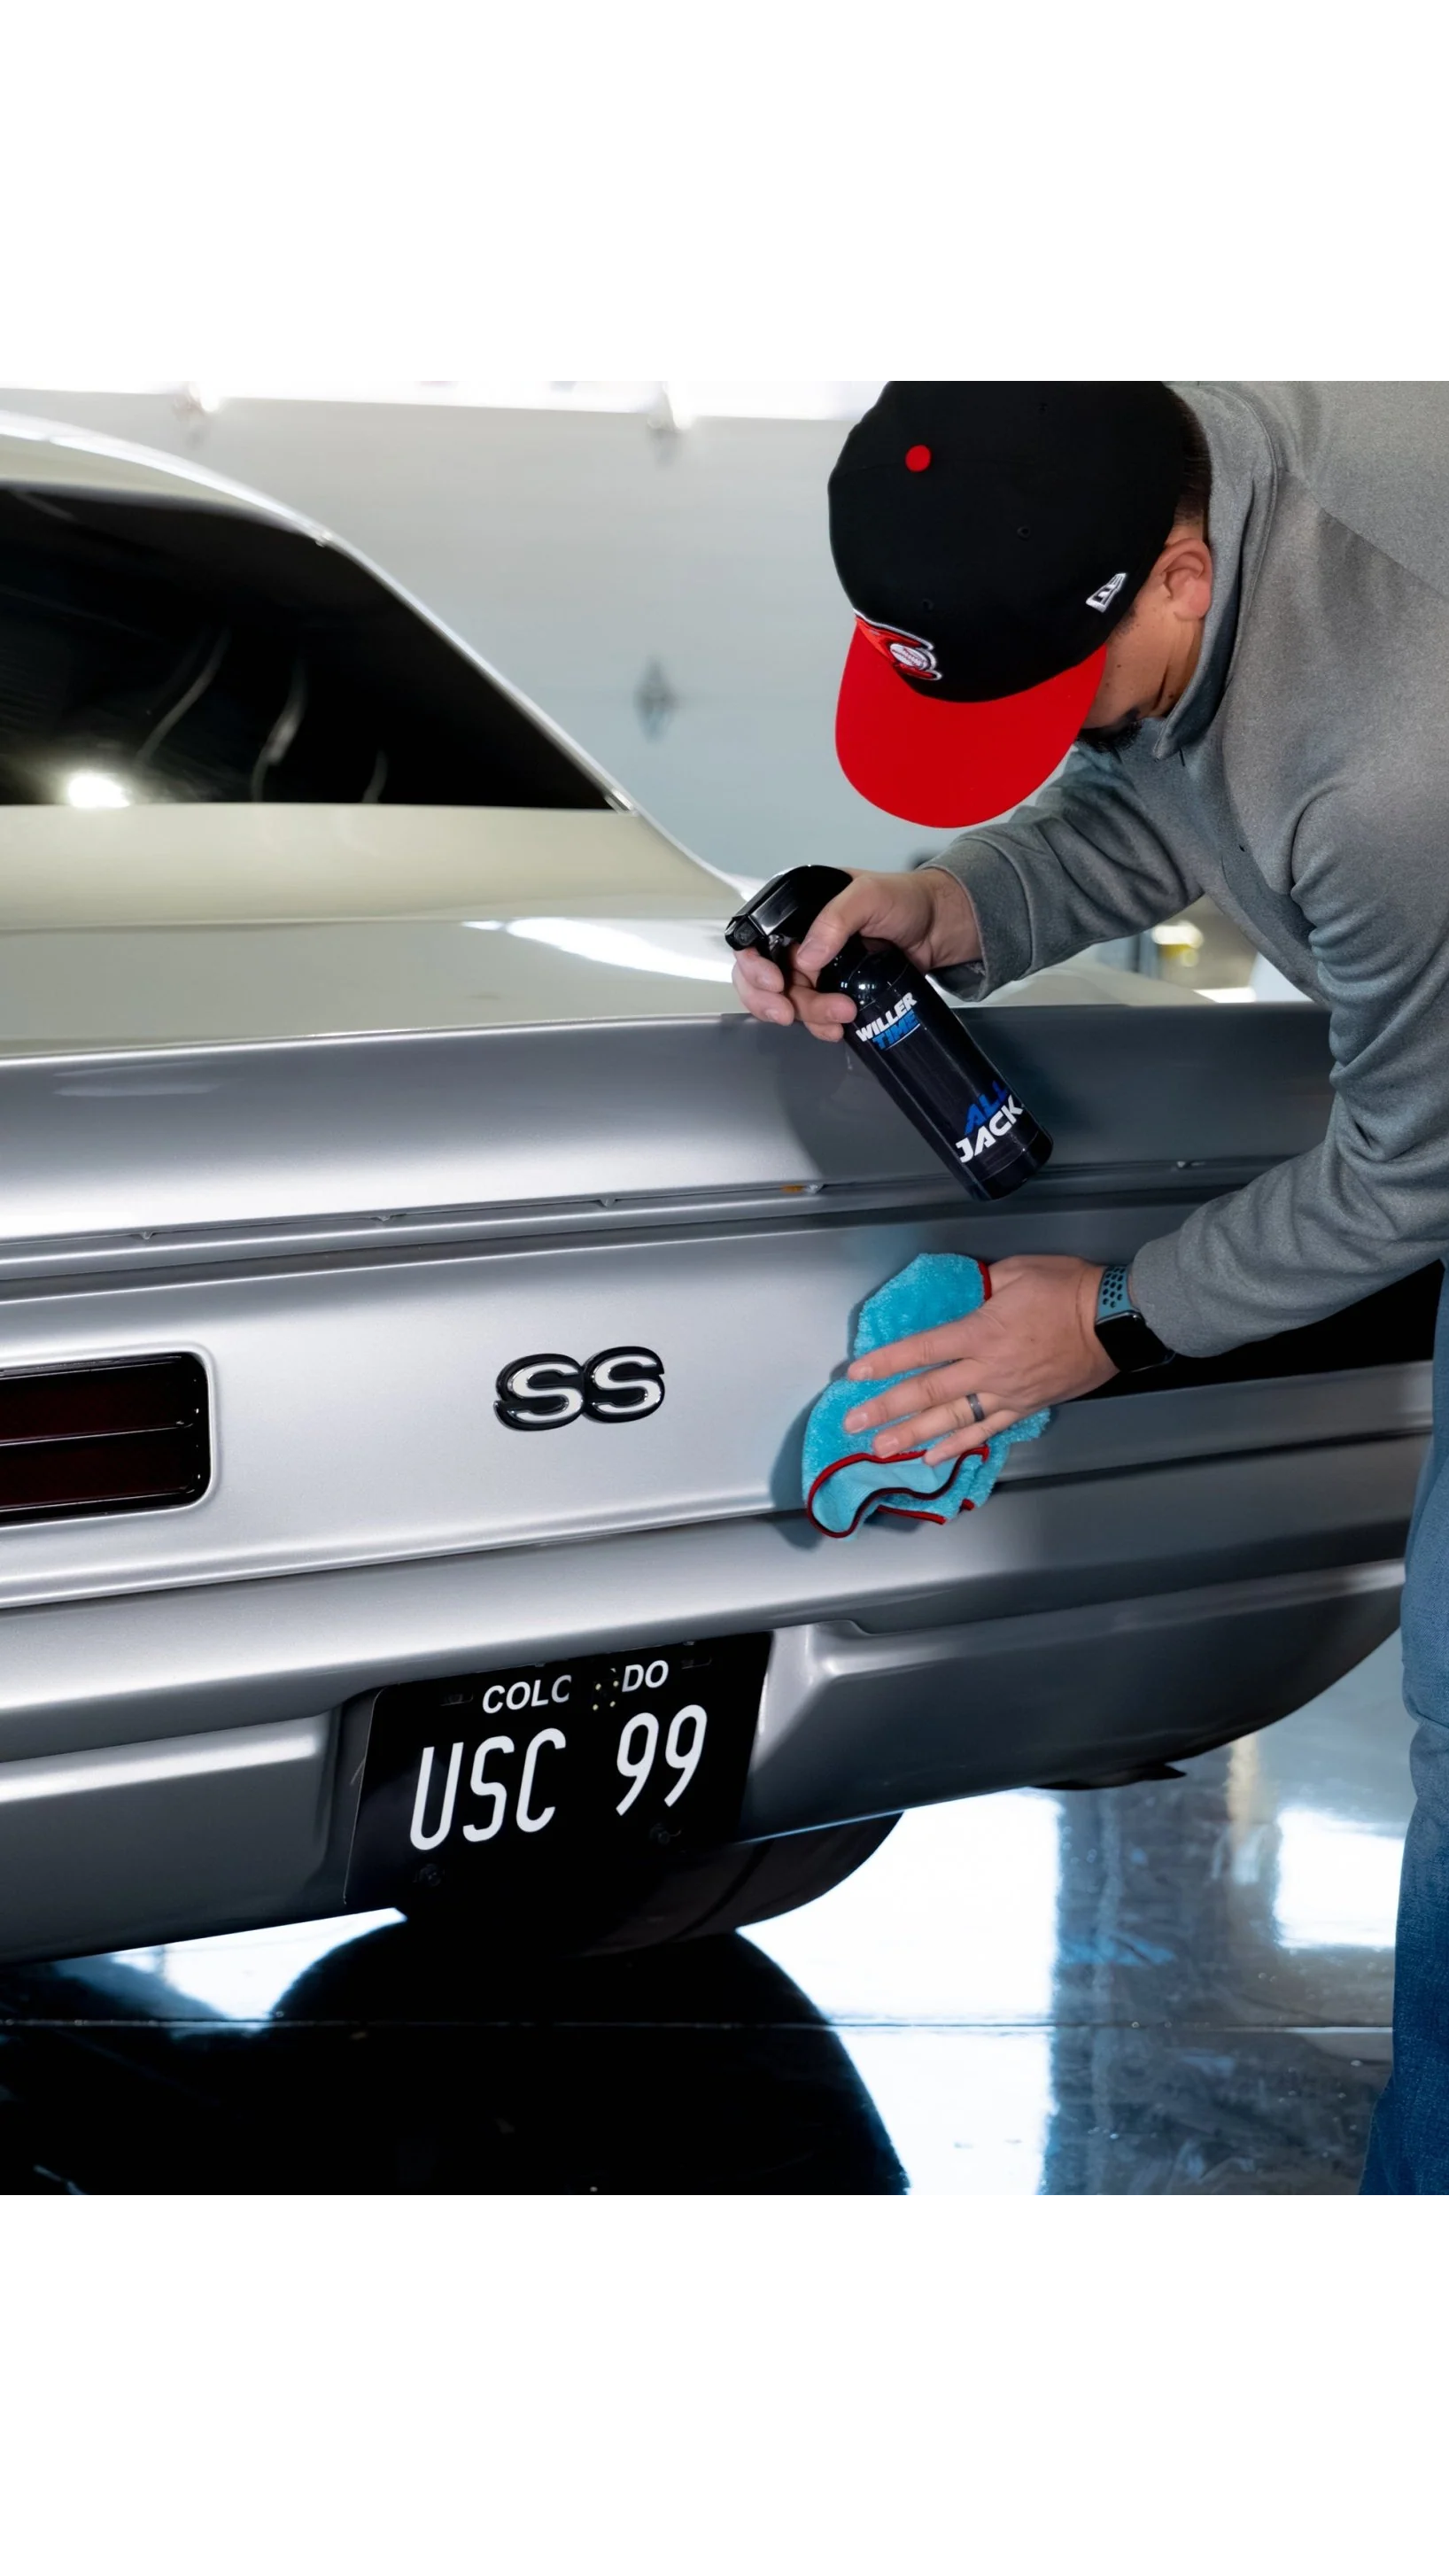
Key Takeaways
- A streak-free wax job starts with a fully washed, dried, and cool car, not with the wax itself
- Applying a thin, even coat one panel at a time prevents the cloudy residue that comes from using too much product
- A clean-finger swipe test tells whether wax has hazed long enough to buff without smearing
- Buffing with a clean microfiber towel, flipped often, keeps dirty wax from spreading back onto the paint
- Wax adds gloss and protection but cannot fix scratches or swirls hiding underneath it
Waxing a car sounds simple until the streaks show up under the garage light or a greasy film clings to the hood no matter how many times it gets wiped down. Streaky, hazy, greasy wax jobs almost always trace back to the same handful of fixable habits, not bad luck or a bad product.
The Four Keys To A Flawless Finish
A show-worthy, streak-free finish comes down to four things working together: clean and fully dry paint, panels that are cool to the touch, a thin and even coat of wax, and buffing at the right moment with a clean microfiber towel. Skip any one of these and the others cannot fully make up for it. Thick wax on a hot panel still bakes on and streaks, and a thin coat buffed with a dirty towel still leaves smears.
Most of what feels like a wax problem actually started earlier in the process, back at the wash bucket or the parking spot. Good prep and a light touch with the applicator solve more issues than switching products ever will, and that idea is what Willer Time, a car care product manufacturer, says is the difference between a glossy finish and one splattered with streaks.
Prep The Paint Before Any Wax Touches It
Wash Thoroughly; Wax Won’t Clean Dirt
Car wax has no real cleaning power of its own. It seals whatever is already sitting on the paint, so waxing over dust, pollen, or road film traps that grit directly against the clear coat. Moving an applicator pad or buffing towel across a dirty panel drags that grit around like fine sandpaper, which is how fresh scratches sneak in during what was supposed to be a protective step. A proper wash with a pH-neutral car shampoo and a clean wash mitt, ideally using the two-bucket method to keep grit out of the soapy water, sets up everything that follows.
Dry Every Panel, Mirror, And Gap
Water and wax do not mix well. Any leftover moisture stops wax from spreading evenly, which leads to patchy coverage and dull spots once the panel fully dries. Water likes to hide in mirrors, door jambs, badge lettering, and panel gaps, then drip out later and carve streaks straight through a fresh wax coat. Going over the car with a plush microfiber drying towel, followed by a pass with a leaf blower or compressed air around tight spots, clears out the hidden moisture that causes this. The one exception is a spray wax labeled for wet application; if the product says it works on a damp car, that instruction overrides the usual dry-first rule.
Clay Only If Paint Still Feels Rough
A wash removes loose dirt, but it cannot lift bonded contamination like industrial fallout, tree sap residue, or embedded iron particles. The simplest way to check is running a clean hand over the paint, or a hand inside a sandwich bag, right after washing. Paint that feels gritty rather than glass-smooth still has contamination sitting on it, and wax applied over that texture bonds poorly and wears off sooner than it should. Clay bar treatment with a dedicated lubricant lifts that bonded grit so the wax sits on truly clean clear coat, but it only needs repeating when the paint actually feels rough, not before every single wax.
Why Shade And Cool Paint Matter
Sun-baked metal turns a simple wax job into a race against the clock. Heat causes wax to flash and dry far faster than normal, so by the time an applicator pad reaches the far side of a panel, the starting edge may already be setting up hard. That uneven drying produces streaks and a hazy, cloudy film that resists even a vigorous buff. Working in a garage, under a carport, or in deep shade keeps panels cool enough for the wax to behave predictably, and a simple palm test works well here: if a panel feels too warm to rest a hand on comfortably, it is too hot to wax. Early morning or late afternoon sessions tend to offer naturally cooler paint for anyone without covered parking.
Apply A Thin Coat The Right Way
It feels intuitive that more wax should mean more shine and more protection, but paint can only hold so thin a layer before the rest becomes excess that has to be buffed away. A heavy coat takes more effort to remove, clings to panel gaps and trim edges, and often leaves the cloudy residue that gets mistaken for a product failure.
Work One Panel At A Time
Tackling the entire car in one pass before circling back to buff sounds efficient, but by the time the last panel gets its coat, the first one has often sat too long and started to overcure. Working one panel, or half of a larger surface like a hood or roof, keeps the timing consistent: apply, check, buff, then move to the next section. A few small dots of liquid wax on a clean foam or microfiber applicator pad are usually enough to cover a good portion of a panel, and a light touch while spreading it keeps the coat thin and even.
Keep Wax Off Trim And Badges
Textured black plastic trim and rubber seals soak up wax and dry into a chalky white residue that does not wipe away easily. The fix is mostly about prevention: working carefully near edges, wiping any accidental overlap immediately with a damp microfiber before it sets, or taping off trim with painter’s tape ahead of time on cars with a lot of textured plastic. A soft detailing brush and warm soapy water can rescue trim that already picked up some residue, though patience matters more than scrubbing harder.
Know When And How To Buff
Timing the buff-off is where a lot of otherwise careful wax jobs go sideways. Wax needs a window to haze over before it comes off cleanly, and that window varies by product, temperature, and even humidity.
Use The Clean-Finger Swipe Test
A simple swipe with a clean finger across the waxed area tells the story: if it wipes clear to a glossy surface, the wax is ready to buff, and if it smears, more time is needed. Product labels list a general haze window, often somewhere in the five-to-fifteen-minute range depending on the formula and the air temperature, but the swipe test is the more reliable real-time check since conditions shift from one driveway to the next.
Buff With A Clean Microfiber, Flipping Often
A soft, plush microfiber towel is the right tool for removing hazed wax, and folding it into quarters creates several fresh sides to work with before a wash is needed. Buffing with light, overlapping passes and turning to a clean section often keeps a towel from becoming the very thing that spreads residue back across the paint. A towel already loaded with wax, or one that has been dropped on the ground and picked up grit, does more harm than good and is one of the most common hidden causes of streaking that has nothing to do with the wax itself.
Fixing Streaks And Leftover Haze
Streaks after waxing almost always come from one of three causes: too much product, buffing before the wax fully hazed, or a towel that was already carrying old residue. The fix in the moment is straightforward. Lightly misting the streaky panel with a quick detailer or a compatible spray wax re-wets the residue just enough to lift it, and a clean, dry microfiber towel buffed in light passes clears it the rest of the way. For wax that has hardened or baked on from sitting too long in the heat, a thin fresh coat of the same product applied directly over the stubborn spot re-softens it so it wipes away cleanly on the next pass. Most of these situations do not call for starting over with a full rewash, just a little patience and a fresh section of towel.
Wax Protects Shine, Not Scratches
Wax adds gloss and a protective layer, but it cannot erase what is already cut into the clear coat. Fine swirl marks, holograms that show up under bright light, and deeper scratches sit below the wax layer, and a glossy coat on top often makes those defects more visible rather than less. Anyone dealing with noticeable paint defects needs polishing before waxing, since an abrasive polish is the only step that actually levels out the clear coat. The order that avoids disappointment is wash, clay if needed, polish if needed, then wax as the final protective layer, never the other way around.
Clean Prep And A Thin Coat Beat Everything Else
A streak-free, non-greasy finish rarely comes down to buying a fancier wax. It comes from the basics done in order: a genuinely clean and dry car, panels that are cool rather than sun-baked, a thin coat applied one section at a time, and a buff that happens at the right moment with a towel that is actually clean. Skipping ahead, rushing the buff, or reaching for extra product to mask a weak prep job tends to backfire with the exact streaks and haze this routine avoids.
Anyone ready to put this into practice can start with a simple checklist: wash and dry completely, confirm smooth paint or clay if needed, work in the shade on cool panels, spread a thin coat one section at a time, run the swipe test, and buff gently with a clean microfiber towel. For a straightforward way to begin, consider a simple at-home wax routine built around these same steps.
Willer Time
support@willertime.com
1(800) 555-1234
2020 N Academy Blvd Ste 261
#4504
Colorado Springs
CO
80909
United States